ImaGenie Tutorial#
imagenie helps with image augmentation and modification, providing a variety of functions to manipulate images for machine learning, computer vision, or creative purposes. Whether you need to flip, scale, convert to grayscale, or blur images, imagenie is your one-stop solution for fast and efficient image manipulation.
imagenie offers the following functionalities: flip, grayscale, scale, and blur. It also allows you to augment multiple images with a series of these operations.
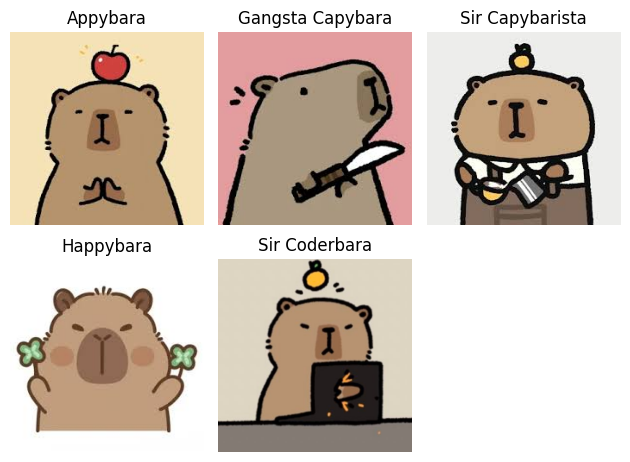
Let’s familiarize you with this package through a series of pictures of Sir Capybara Genie’s life journey.
from PIL import Image
import numpy as np
import matplotlib.pyplot as plt
import imagenie
from imagenie.augment import augment
from imagenie.blur import blur
from imagenie.flip import flip
from imagenie.grayscale import grayscale
from imagenie.scale import scale
imagenie is designed to work with data in the form of numpy arrays. Let’s import Sir Capybara’s images using matplotlib and convert them into numpy arrays accordingly.
Image Size#
The maximum input image size is 1028 × 1028 pixels.
If the input image size exceeds this limit, a ValueError or a warning will be raised.
# Load the capybara image and convert them to numpy arrays
image_1 = plt.imread("img/capybara.jpeg")
image_2 = plt.imread("img/capybara2.jpeg")
image_3 = plt.imread("img/capybara3.jpeg")
image_4 = plt.imread("img/capybara4.jpeg")
image_5 = plt.imread("img/capybara5.jpeg")
img=plt.imread("../tests/testimage.png")

images=[image_1,image_2,image_3,image_4, image_5]
# Define pixel-DPI ratio to calculate display size
px = 1/plt.rcParams['figure.dpi']
titles = ['Appybara', 'Gangsta Capybara', 'Sir Capybarista', 'Happybara', 'Sir Coderbara']
for i,j in enumerate(images,start=1):
    plt.subplot(2,3,i)
    plt.imshow(j)
    plt.title(titles[i-1])
    plt.axis("off")
    plt.plot()
plt.tight_layout()
Grayscale an image#
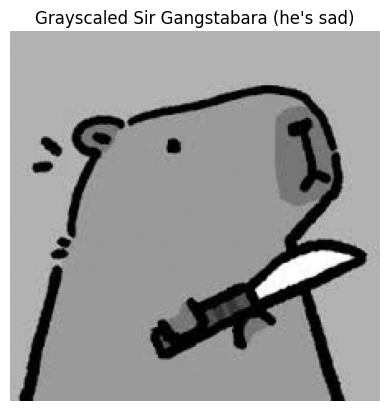
The function grayscale() in the imagenie package converts the image to grayscale, i.e., it removes all color and reduces it to varying shades of gray.
This is ideal for machine learning models that focus on intensity information, simplifying computations and highlighting structural features of the image, particularly when color information is not important.
Sir Capybara was previously a gangster. He was very dull and gray.#
gray_image = grayscale(image_2)

plt.imshow(gray_image, cmap='gray')
plt.title("Grayscaled Sir Gangstabara (he's sad)")
plt.axis("off")
plt.show()
Blur an image#
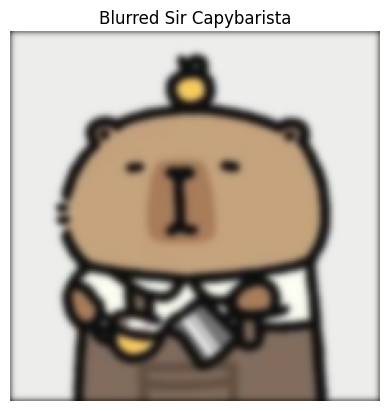
The function blur in the imagenie package adds a Gaussian Blur by adding noise to a 3-channel input image. It leverages the Gaussian distribution with a provided value of standard deviation, stdev which defaults at 1.0.
In image augmentation, blurring is useful for simulating real-world imperfections, such as motion blur or out-of-focus elements, enhancing a model’s ability to handle noisy or degraded inputs in practical scenarios.
Everything was blurry in Sir Capybara’s life#
blurred_img=blur(np.asarray(image_3), 2)
plt.imshow(blurred_img)
plt.title("Blurred Sir Capybarista")
plt.axis("off")
plt.show()
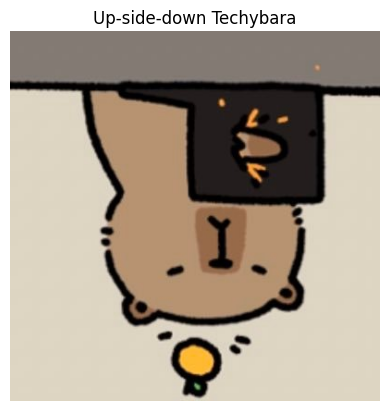
Flip an image#
the flip() function in the imagenie packa flips the input image either horizontally or vertically. The direction 0 implies horizontal flipping and 1 implies vertical flipping.
This technique is crucial in image augmentation for introducing mirrored variations, thereby increasing dataset diversity and reducing overfitting in machine learning models.
But then he studied data science and his life flipped around!#
flipped_image = flip(image_5, 1)

plt.imshow(flipped_image)
plt.title("Up-side-down Techybara")
plt.axis("off")
plt.show()
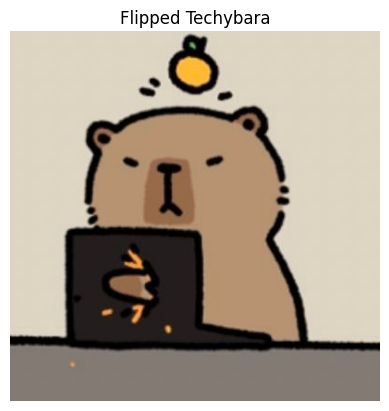
He also flipped horizontally#
flipped_image2 = flip(image_5, 0)

# Display the flipped image
plt.imshow(flipped_image2)
plt.title("Flipped Techybara")
plt.axis("off")
plt.show()
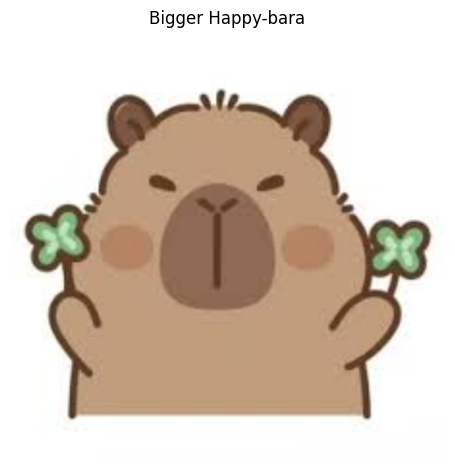
Scale an image#
The scale() function in the imagenie package resizes an image using a scaling factor, N. The scaling factor N is a positive float number, and defaults to 1.
Scaling is a fundamental augmentation technique, allowing for variations in image size and resolution. It’s especially important for training models to recognize objects at different scales, improving performance across varying perspectives or distances.
Then he became Happybara, 2.5 times larger than life!#
large_image = scale(image_4, 2.5)

# Display the larger image
plt.figure(figsize=(large_image.shape[1]*px,large_image.shape[0]*px)) # Added code to display resized image in actual size
plt.imshow(large_image)
plt.title("Bigger Happy-bara")
plt.axis("off")
plt.show()
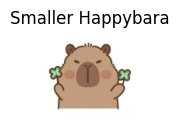
Just like his child-self (0.5 times)#
small_image = scale(image_4, 0.5)

# Display the smaller image
plt.figure(figsize=(small_image.shape[1]*px,small_image.shape[0]*px)) # Added code to display resized image in actual size
plt.imshow(small_image)
plt.title("Smaller Happybara")
plt.axis("off")
plt.show()
Augment images#
The augment() function in the imagenie package applies a sequence of user-defined augmentation operations to a batch of images. It only allows previously mentioned operations.
This is a powerful tool for creating robust training datasets by generating diverse versions of input images. Augmentation improves a model’s ability to generalize, making it resilient to variations in lighting, orientation, or scale during deployment.
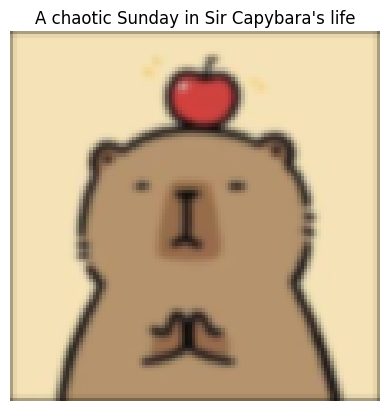
Finally, Sir Capybara Genie mastered the art of all transformations#
augmented_image = augment(images, [(scale, 0.5), (blur, 1)])

plt.imshow(augmented_image[0])
plt.title("A chaotic Sunday in Sir Capybara's life")
plt.axis("off")
plt.show()